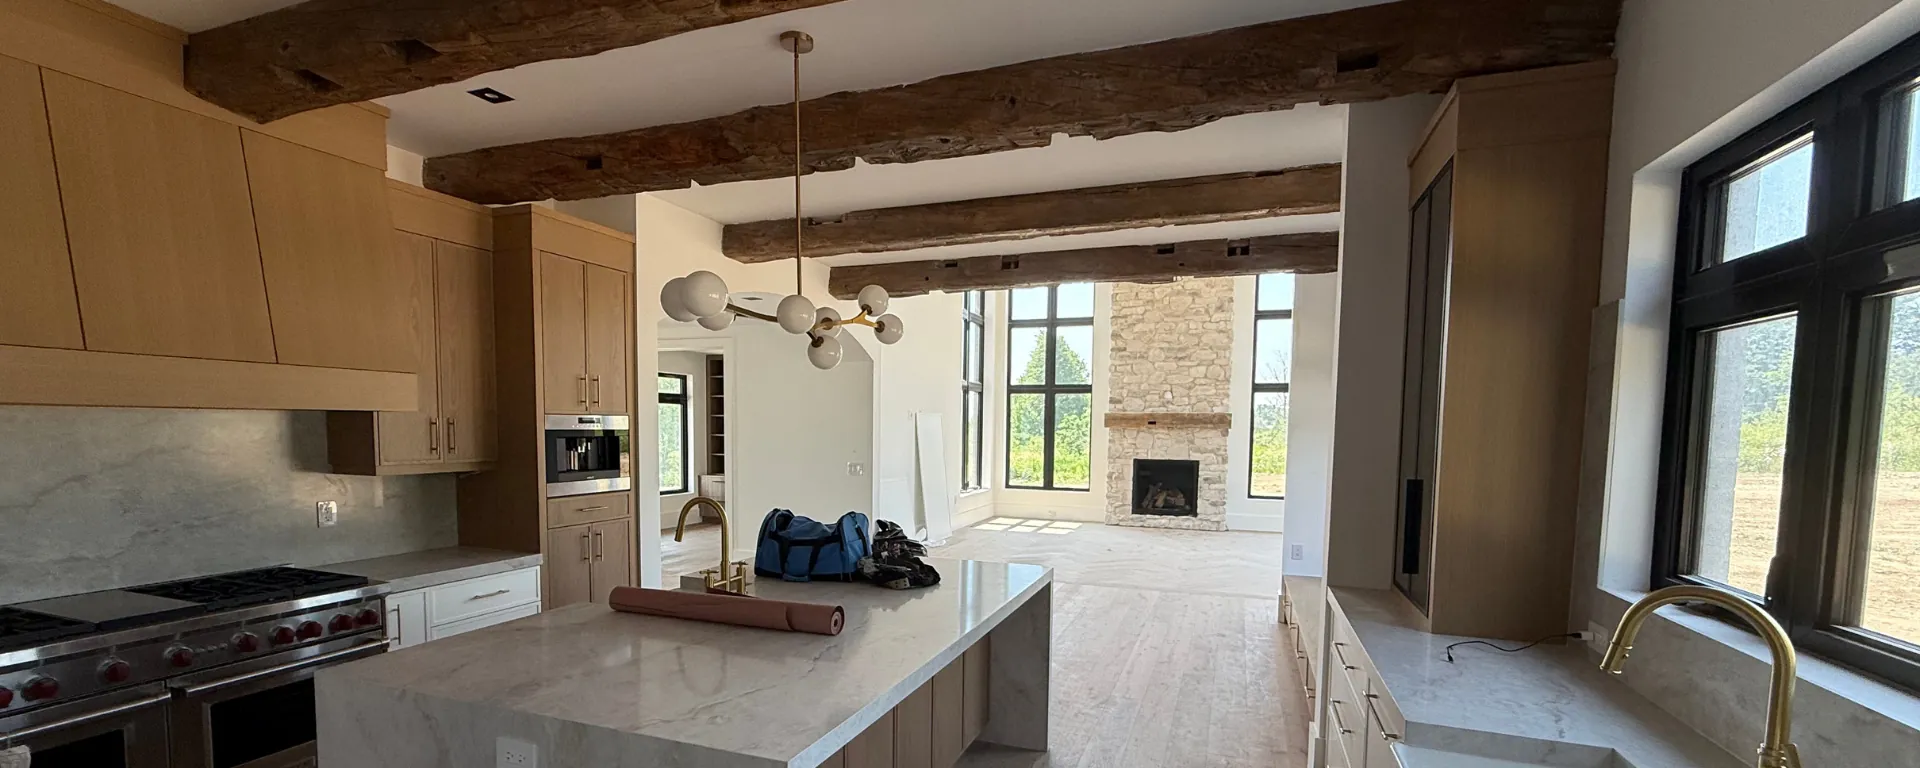
Why Surface Prep is the Key to a Professional Finish
Most homeowners think paint alone creates the finished look. In reality, paint is only as strong as the surface it clings to. Dust, dirt, old flaking paint, or moisture will prevent proper adhesion, and even high-quality paint can fail if the wall isn’t prepared correctly. Professional painters spend as much time preparing surfaces as they do applying color, because preparation is the foundation of a lasting finish. Done right, prep ensures better durability, a flawless appearance, and protection against future problems like peeling or water damage.
Step 1: Clean the Surface Thoroughly
Before paint touches the wall, the surface must be completely clean. Any grease, dust, or residue acts like a barrier between the wall and the paint. For interior walls, a gentle soap-and-water wash is usually enough, but kitchens often require degreasers to cut through cooking oils. Bathrooms should be checked for mildew, which can be treated with a water-and-vinegar mix or a specialized cleaner.
On exterior surfaces, power washing is often the first step. It removes dirt, chalky residue, and loose material that would otherwise cause the paint to peel. The key is patience paint should never go on a damp or dirty wall.
Step 2: Repair Any Damage
Walls, trim, and exteriors often carry the scars of everyday life: nail holes, dents, cracks, or wood rot. Painting over them only makes these flaws stand out more. That’s why repairs come next. Drywall holes should be patched with spackle or joint compound, while wood cracks can be filled with wood filler. Masonry cracks in brick or stucco should be sealed with the proper masonry patch.
Once repairs dry, they must be blended with the surrounding surface. A smooth, seamless repair will disappear after painting; a rough patch will stick out forever.
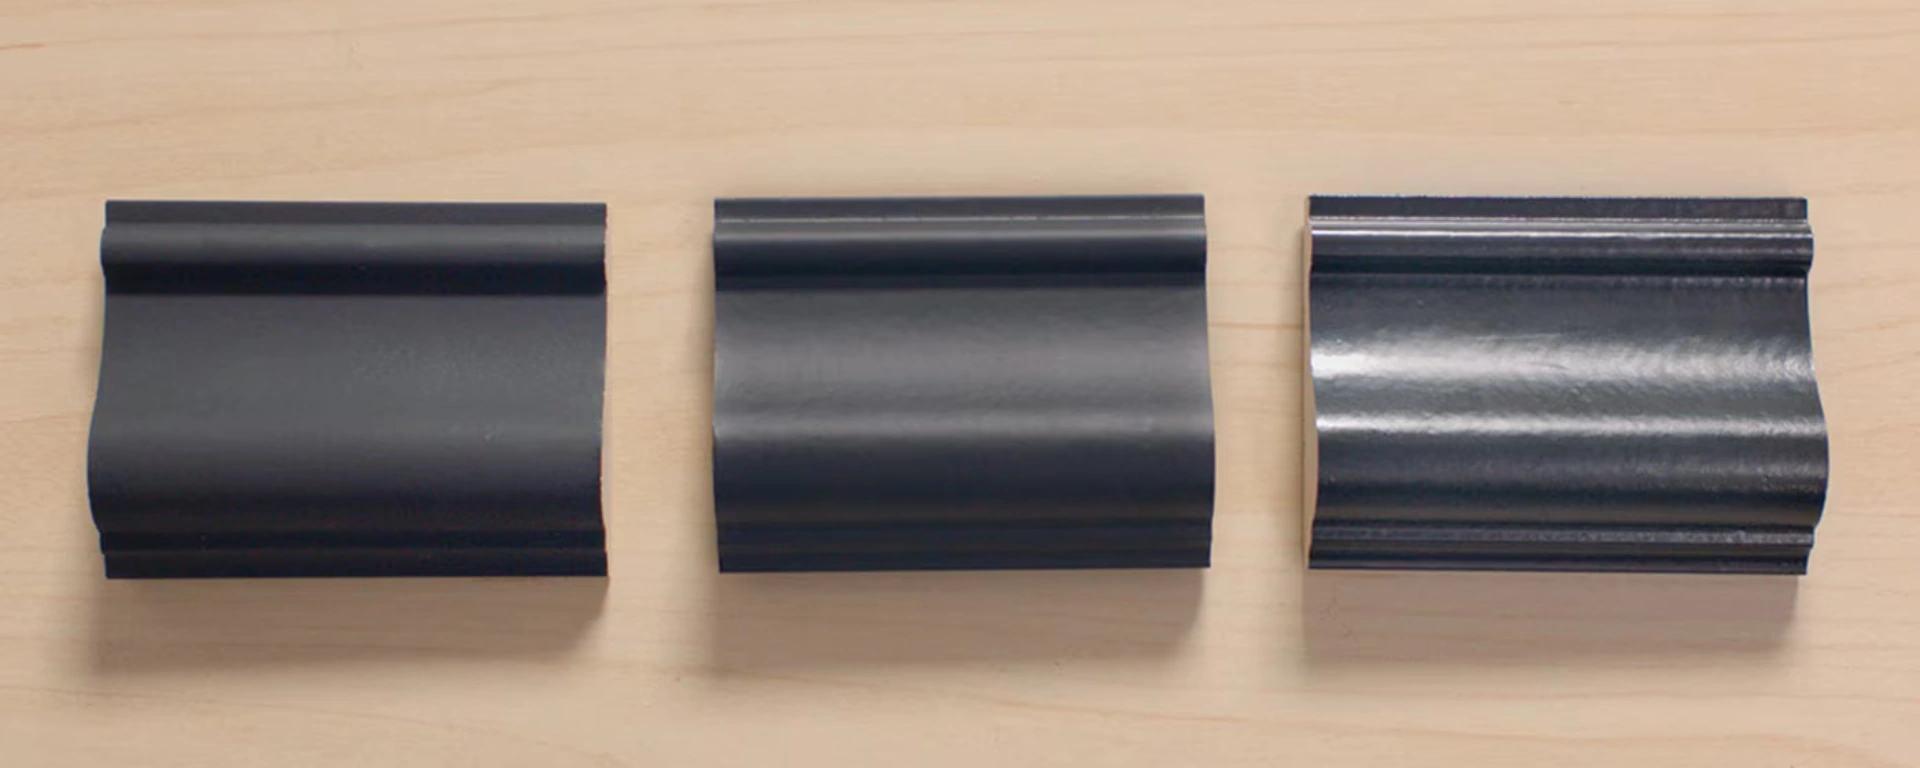
Step 3: Sand for a Smooth Finish
Even if your walls look fine to the naked eye, sanding is critical. Glossy surfaces, in particular, need to be dulled so the new paint can grip properly. Light sanding with fine-grit paper (around 120–220 grit) smooths patched areas, removes shine, and creates a texture that paint can bond to.
On exteriors, sanding or scraping is needed to feather the edges of peeling paint so they blend into the surface. Indoors, doors, cabinets, and trim often benefit from sanding old varnish or rough paint layers before they’re repainted. After sanding, every bit of dust should be wiped away with a tack cloth otherwise, it will mix with your fresh paint and ruin the finish.
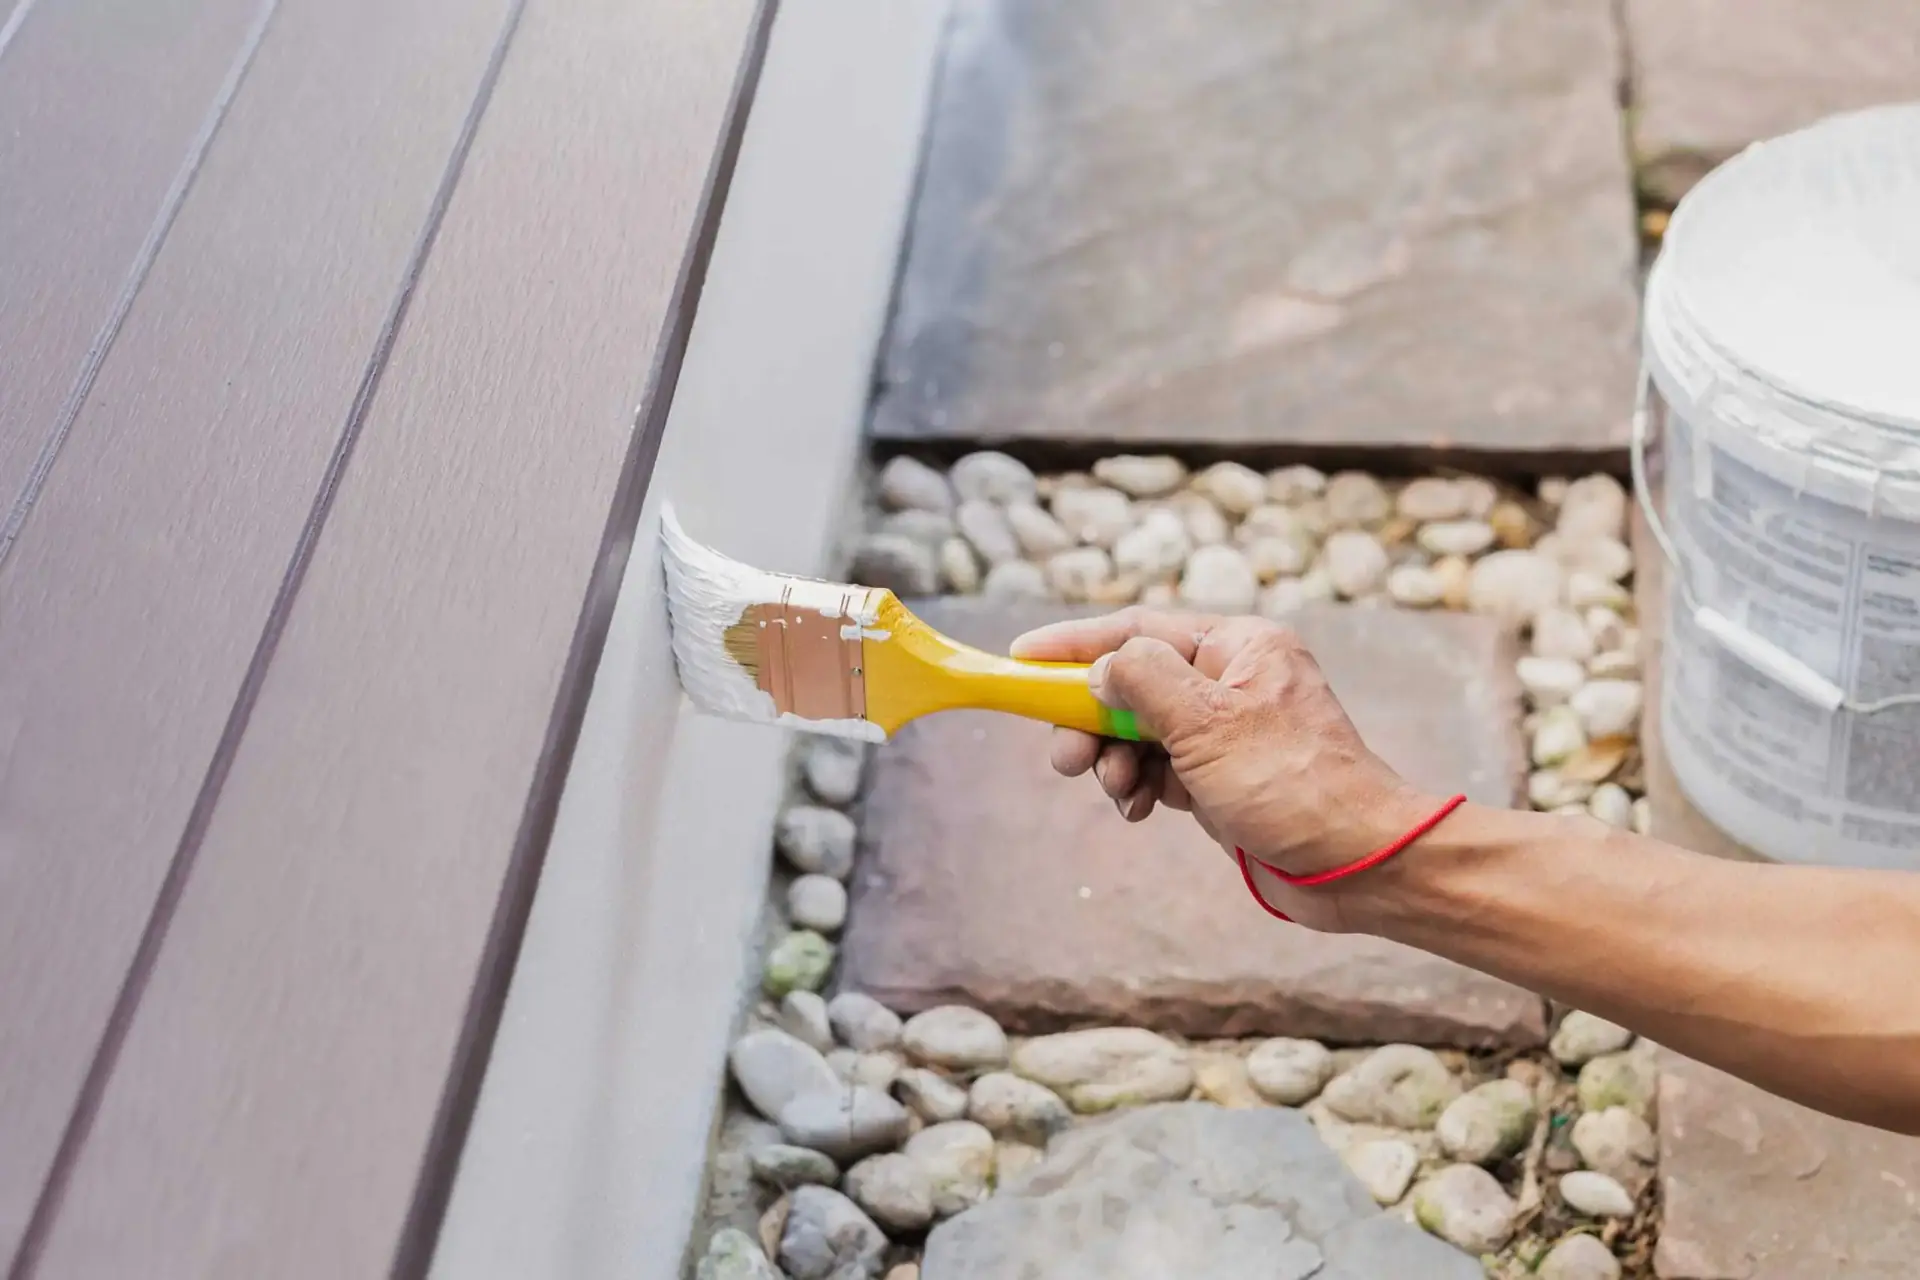
Step 4: Protect What Shouldn’t Be Painted
Professional painters are just as precise in protecting surfaces as they are in painting them. Edges are taped with painter’s tape to create crisp, clean lines. Floors, countertops, and furniture are covered with drop cloths to avoid splatters. Outlets and hardware can be removed or masked to save cleanup later.
This step may feel tedious, but it’s what separates a messy, rushed job from one that looks polished and deliberate.
Step 5: Apply Primer Where Needed
Primer is often misunderstood it’s not just an “extra coat,” but a crucial part of professional preparation. Primer seals porous surfaces, blocks stains, and provides the perfect base for paint to stick. New drywall absorbs paint unevenly without primer, glossy surfaces risk peeling, and stained walls can bleed through new coats unless sealed.
Wood, metal, and masonry each require specialized primers to prevent problems like tannin bleed, rust, or moisture damage. Even for regular walls, using a primer can reduce the number of topcoats needed and create a richer, more even finish.
The Cost of Skipping Prep
It’s tempting to jump straight into painting after all, that’s the fun part. But skipping prep usually leads to disappointment. Paint may peel, scuff easily, or highlight imperfections you thought would disappear. In the long run, you’ll spend more time and money repainting than you saved by cutting corners. Professionals know that prep is never optional it’s the key to results that last.